Organization Profile
Purpose
Establish your organization’s information on the platform.
Who can do this: The Workspace Owner.
Steps:
After creating your organization workspace, the platform will automatically display Step 1: General. On this screen you can upload your organization’s logo and provide key details such as Description, Mission, Vision, and Strategy.
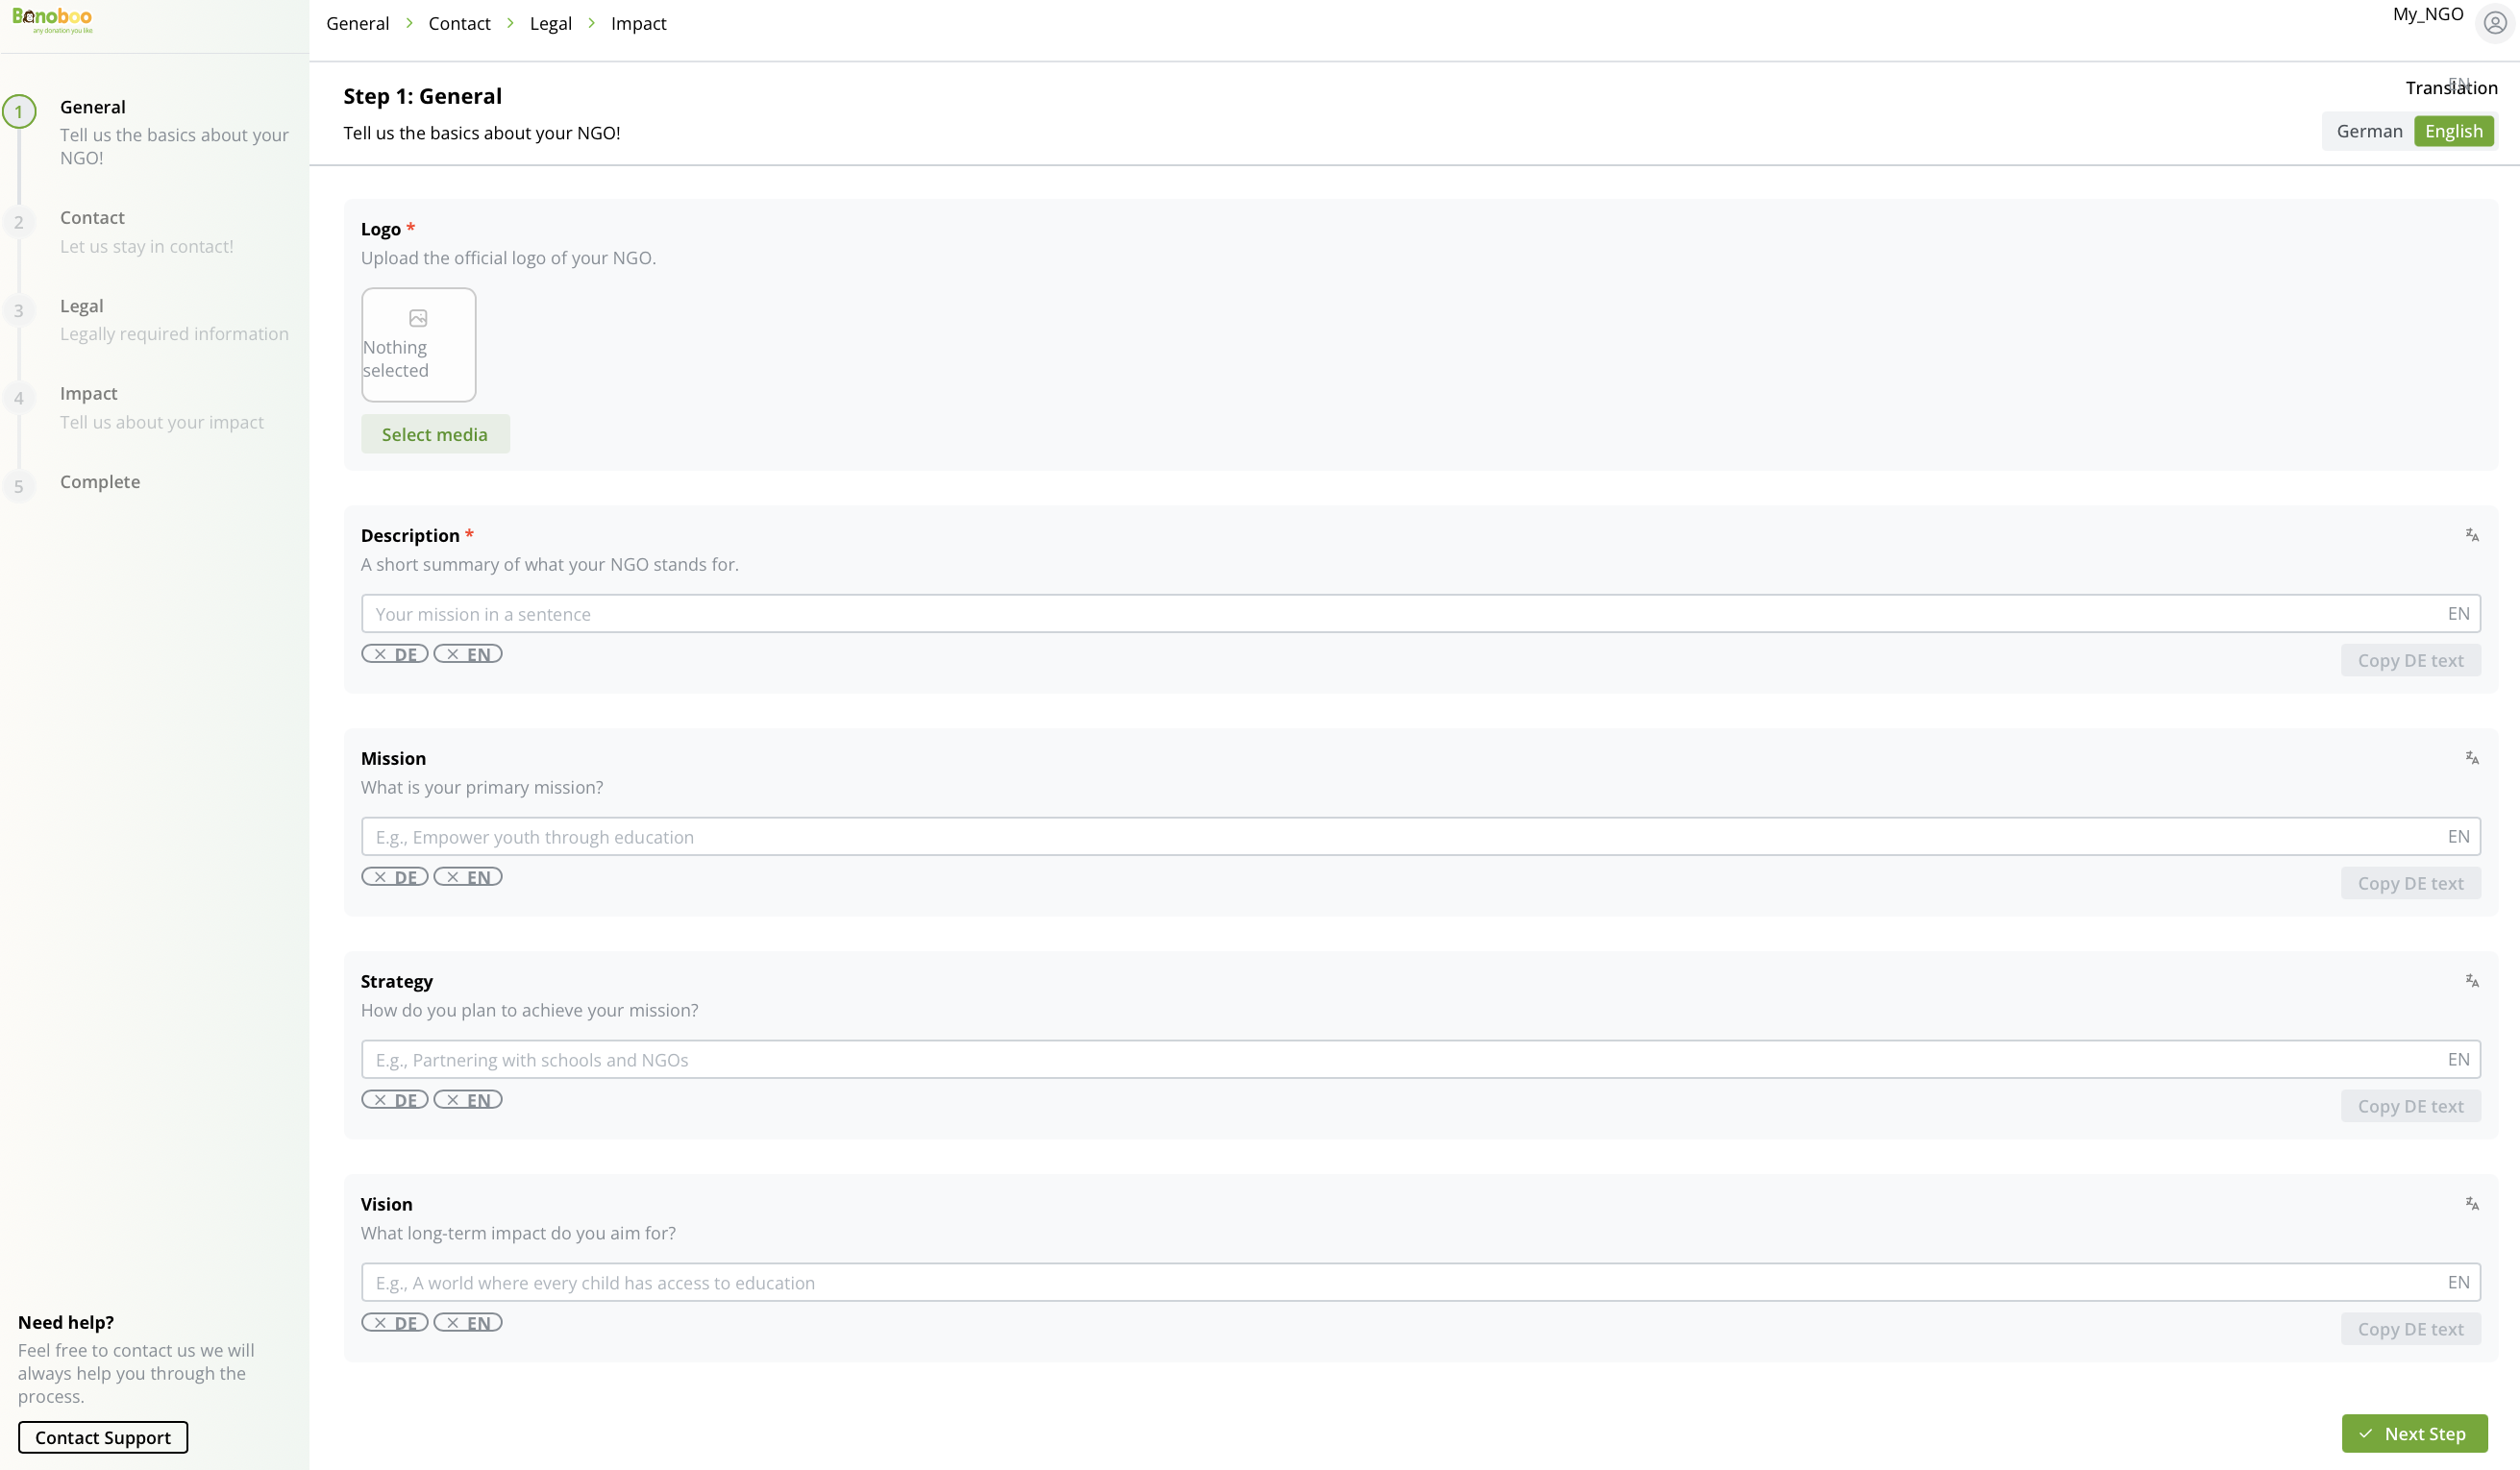
Step 1 : General ℹ️
Caution: All information must be entered in both English and German. In the top-right corner of the screen, you will see the translation toggle.
If the EN button is green, the fields you complete will be saved in English.
To switch to German, click the DE button in the toggle; it will turn green, and the fields will switch to German.
Alternatively, under the fields you may see EN/DE buttons. Selecting one will automatically change the active language in the top-right toggle.
After completing Step 1, click Next Step to proceed to Contact. Here, you’ll enter your organization’s key details, including website URL, primary email, and the phone number of your main contact person. You should also add social media links (Facebook, LinkedIn, Instagram, or others) to increase visibility, and provide your full registered legal address. Supplying accurate information ensures donors, partners, and the Bonoboo’s team can easily reach your organization.
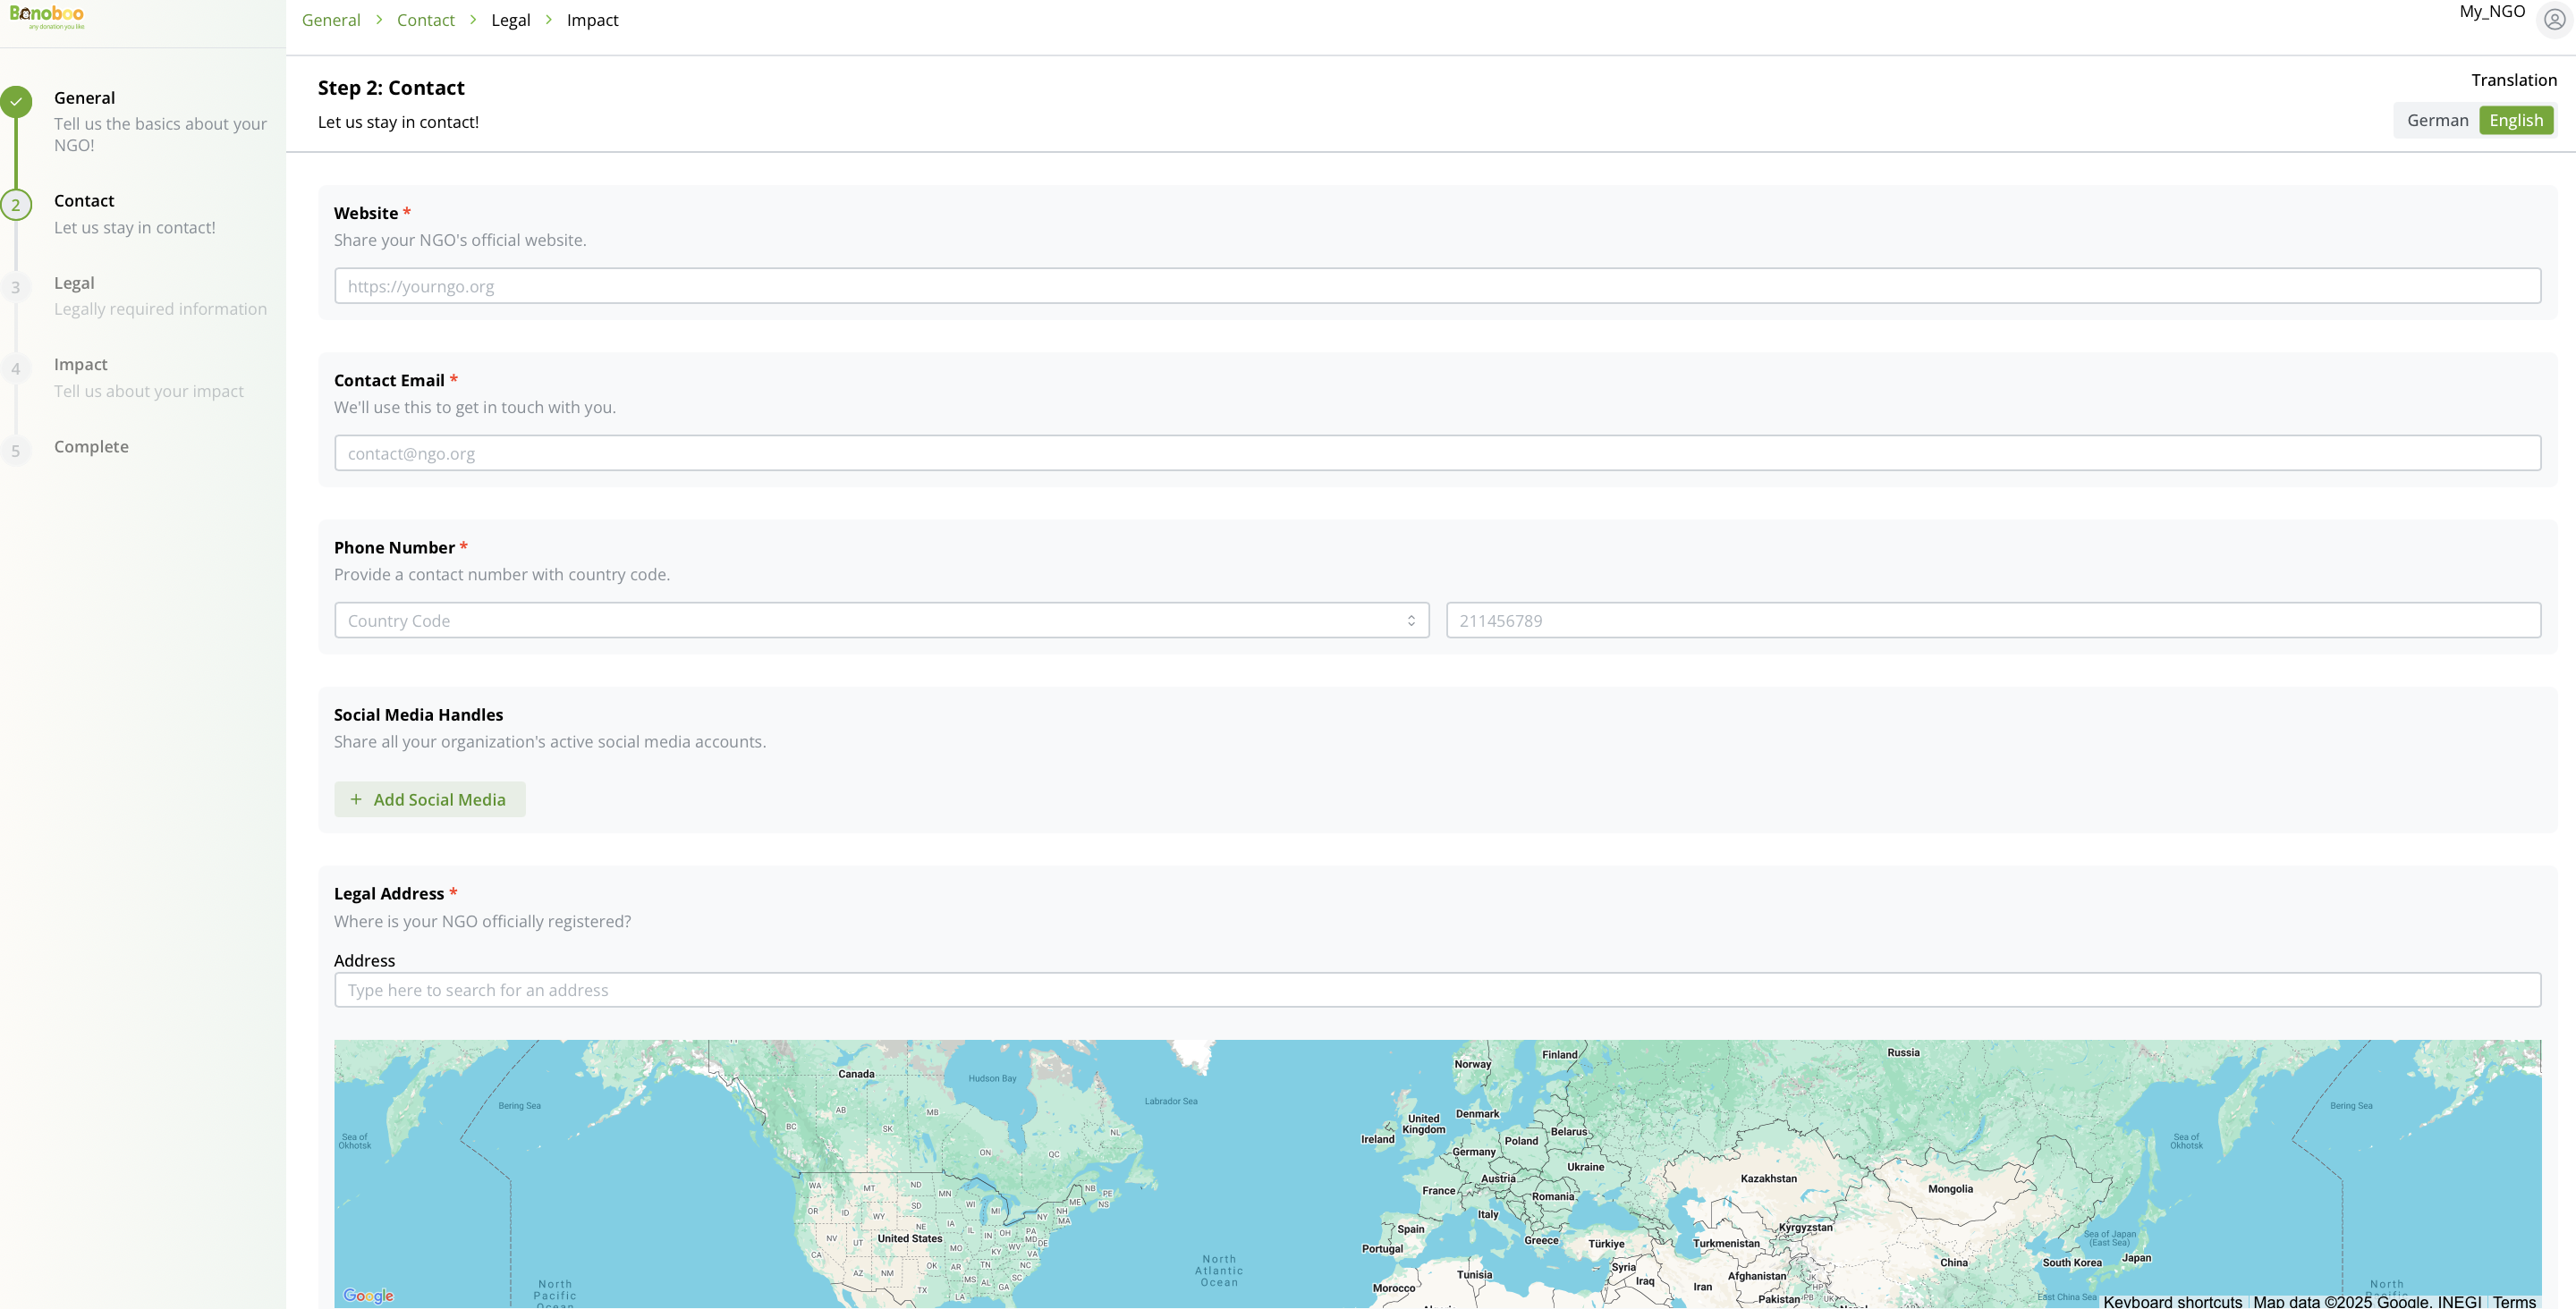
Step 2: Contact 📗
After completing Step 2, select Next Step to proceed to Step 3: Legal. On this screen, you will enter your organization’s legal and compliance details. This includes the year of establishment, current registration status, and the country where your NGO is registered. You will also provide the number of employees and volunteers, as well as upload any relevant certificates (e.g., Freistellungsbescheid, Spendenquittung, or similar documents). Finally, specify the types of funding or sourcing your NGO receives, ensuring Bonoboo has a clear and accurate overview of your legal and operational framework.
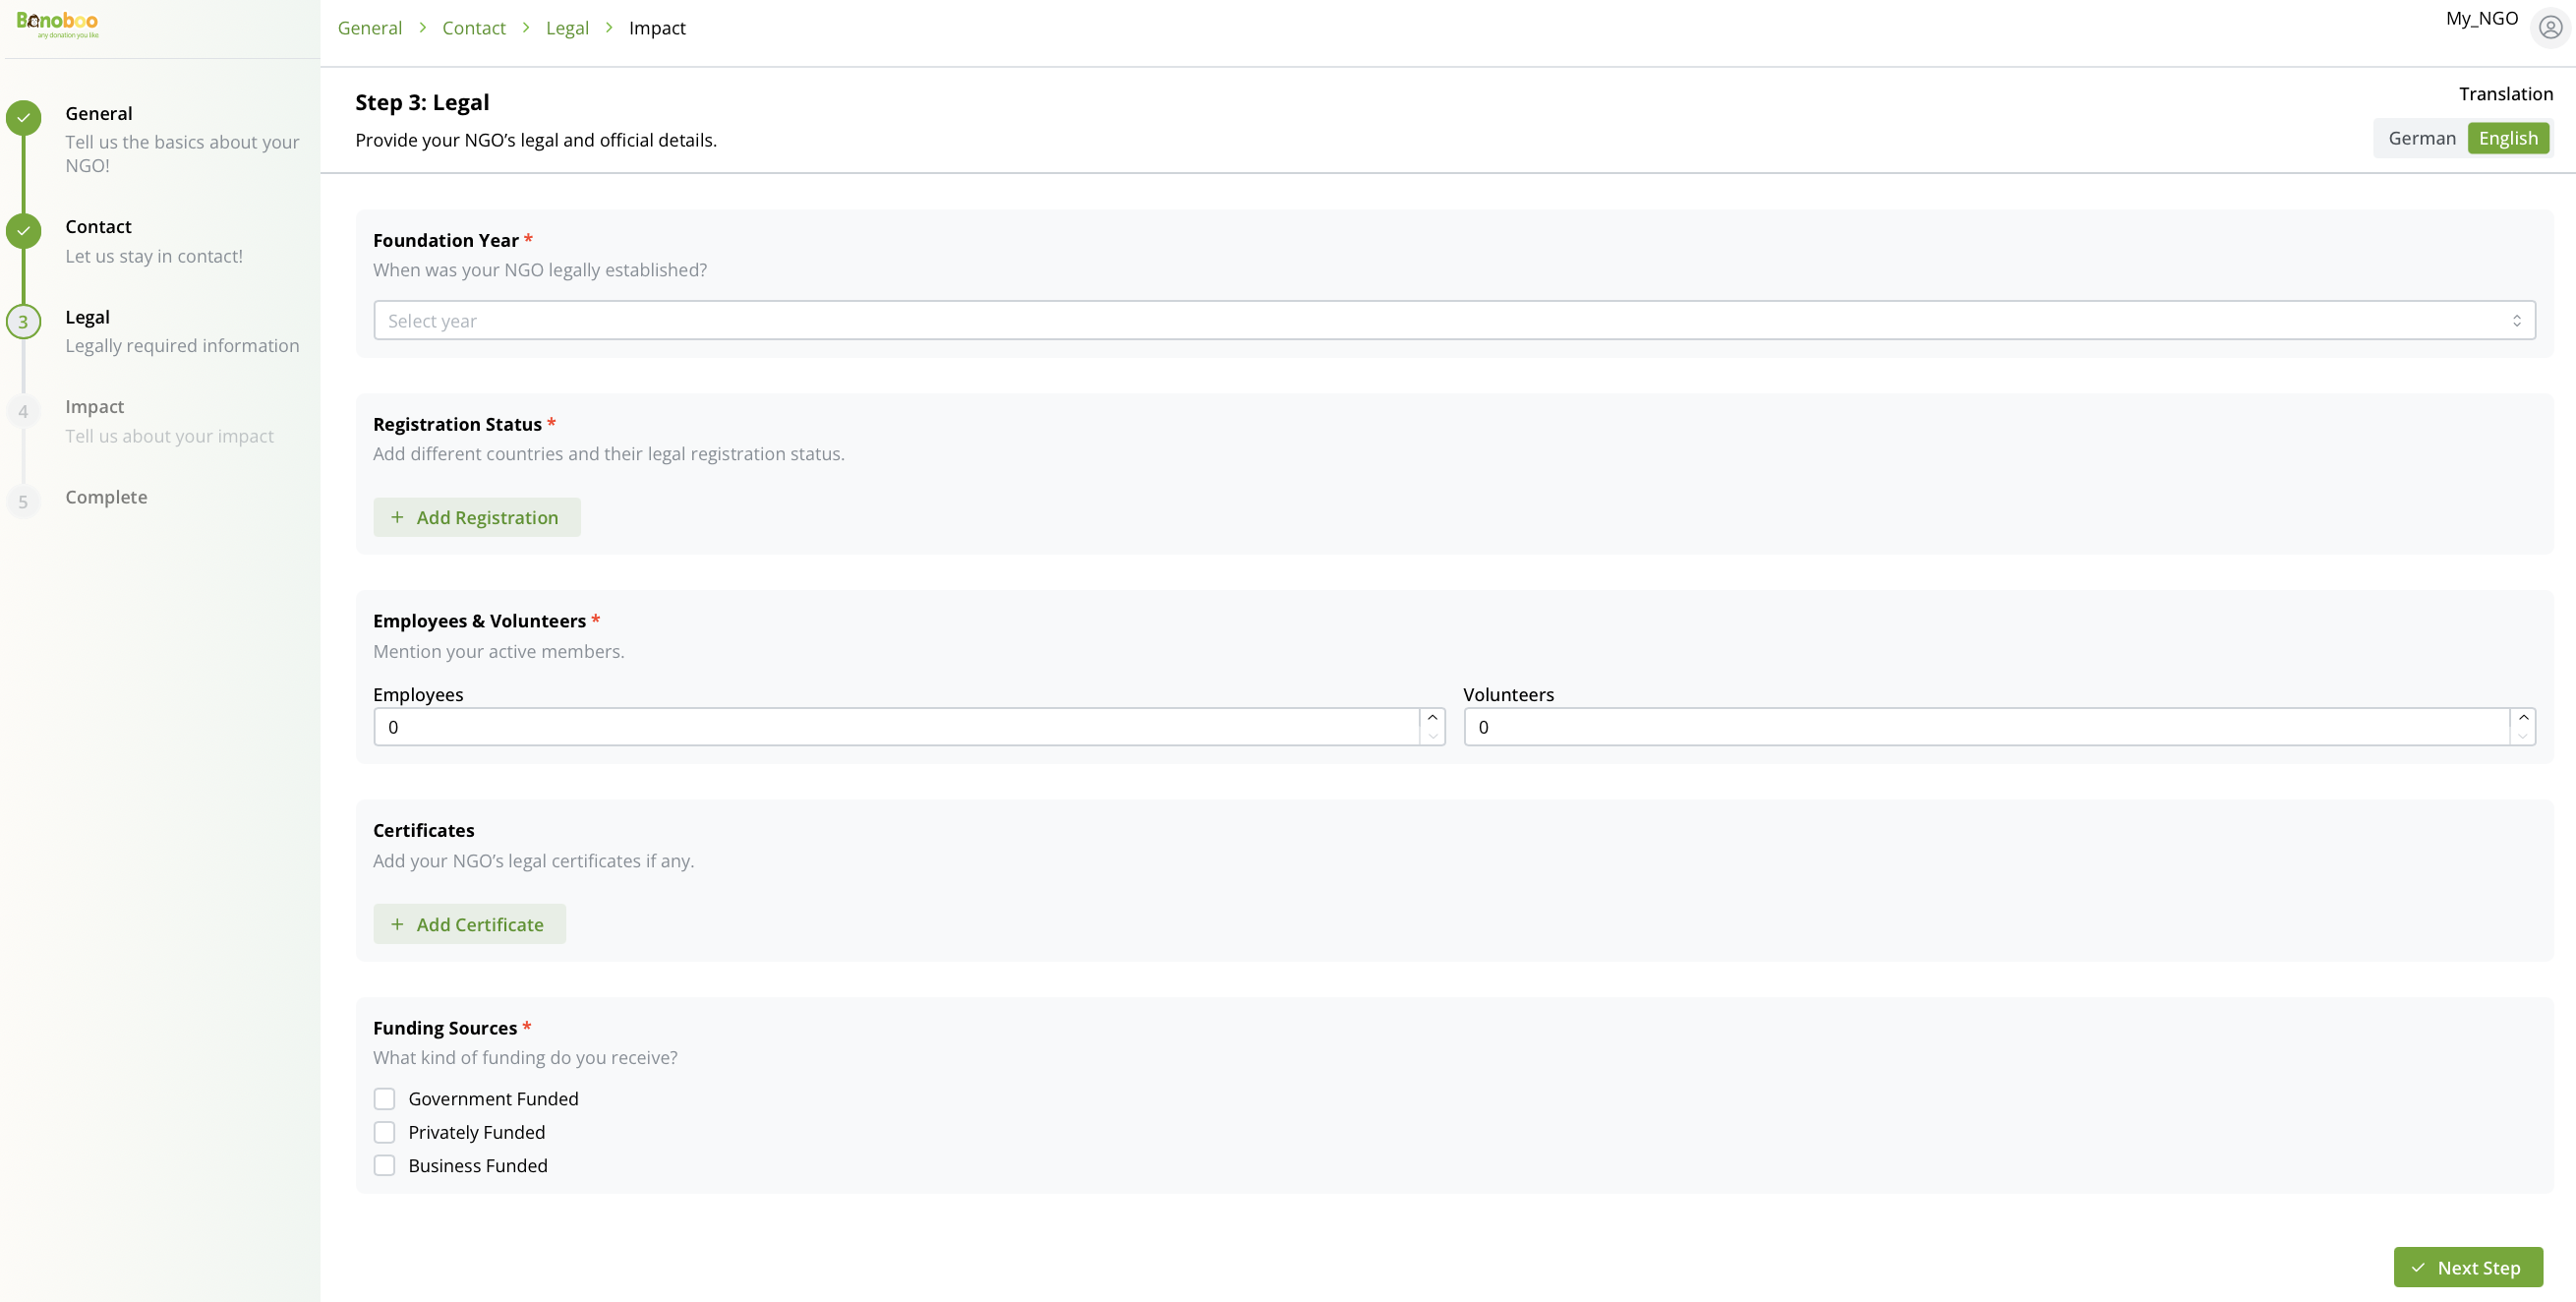
Step 3: Legal ⚖️
After completing Step 3, select Next to proceed to Step 4: Impact. On this screen, you will provide your organization’s impact information. Begin by selecting the Sustainable Development Goals (SDGs) that align with your NGO’s mission and activities. This ensures that your projects are connected to recognized international development priorities and makes it easier for partners to understand your focus areas.
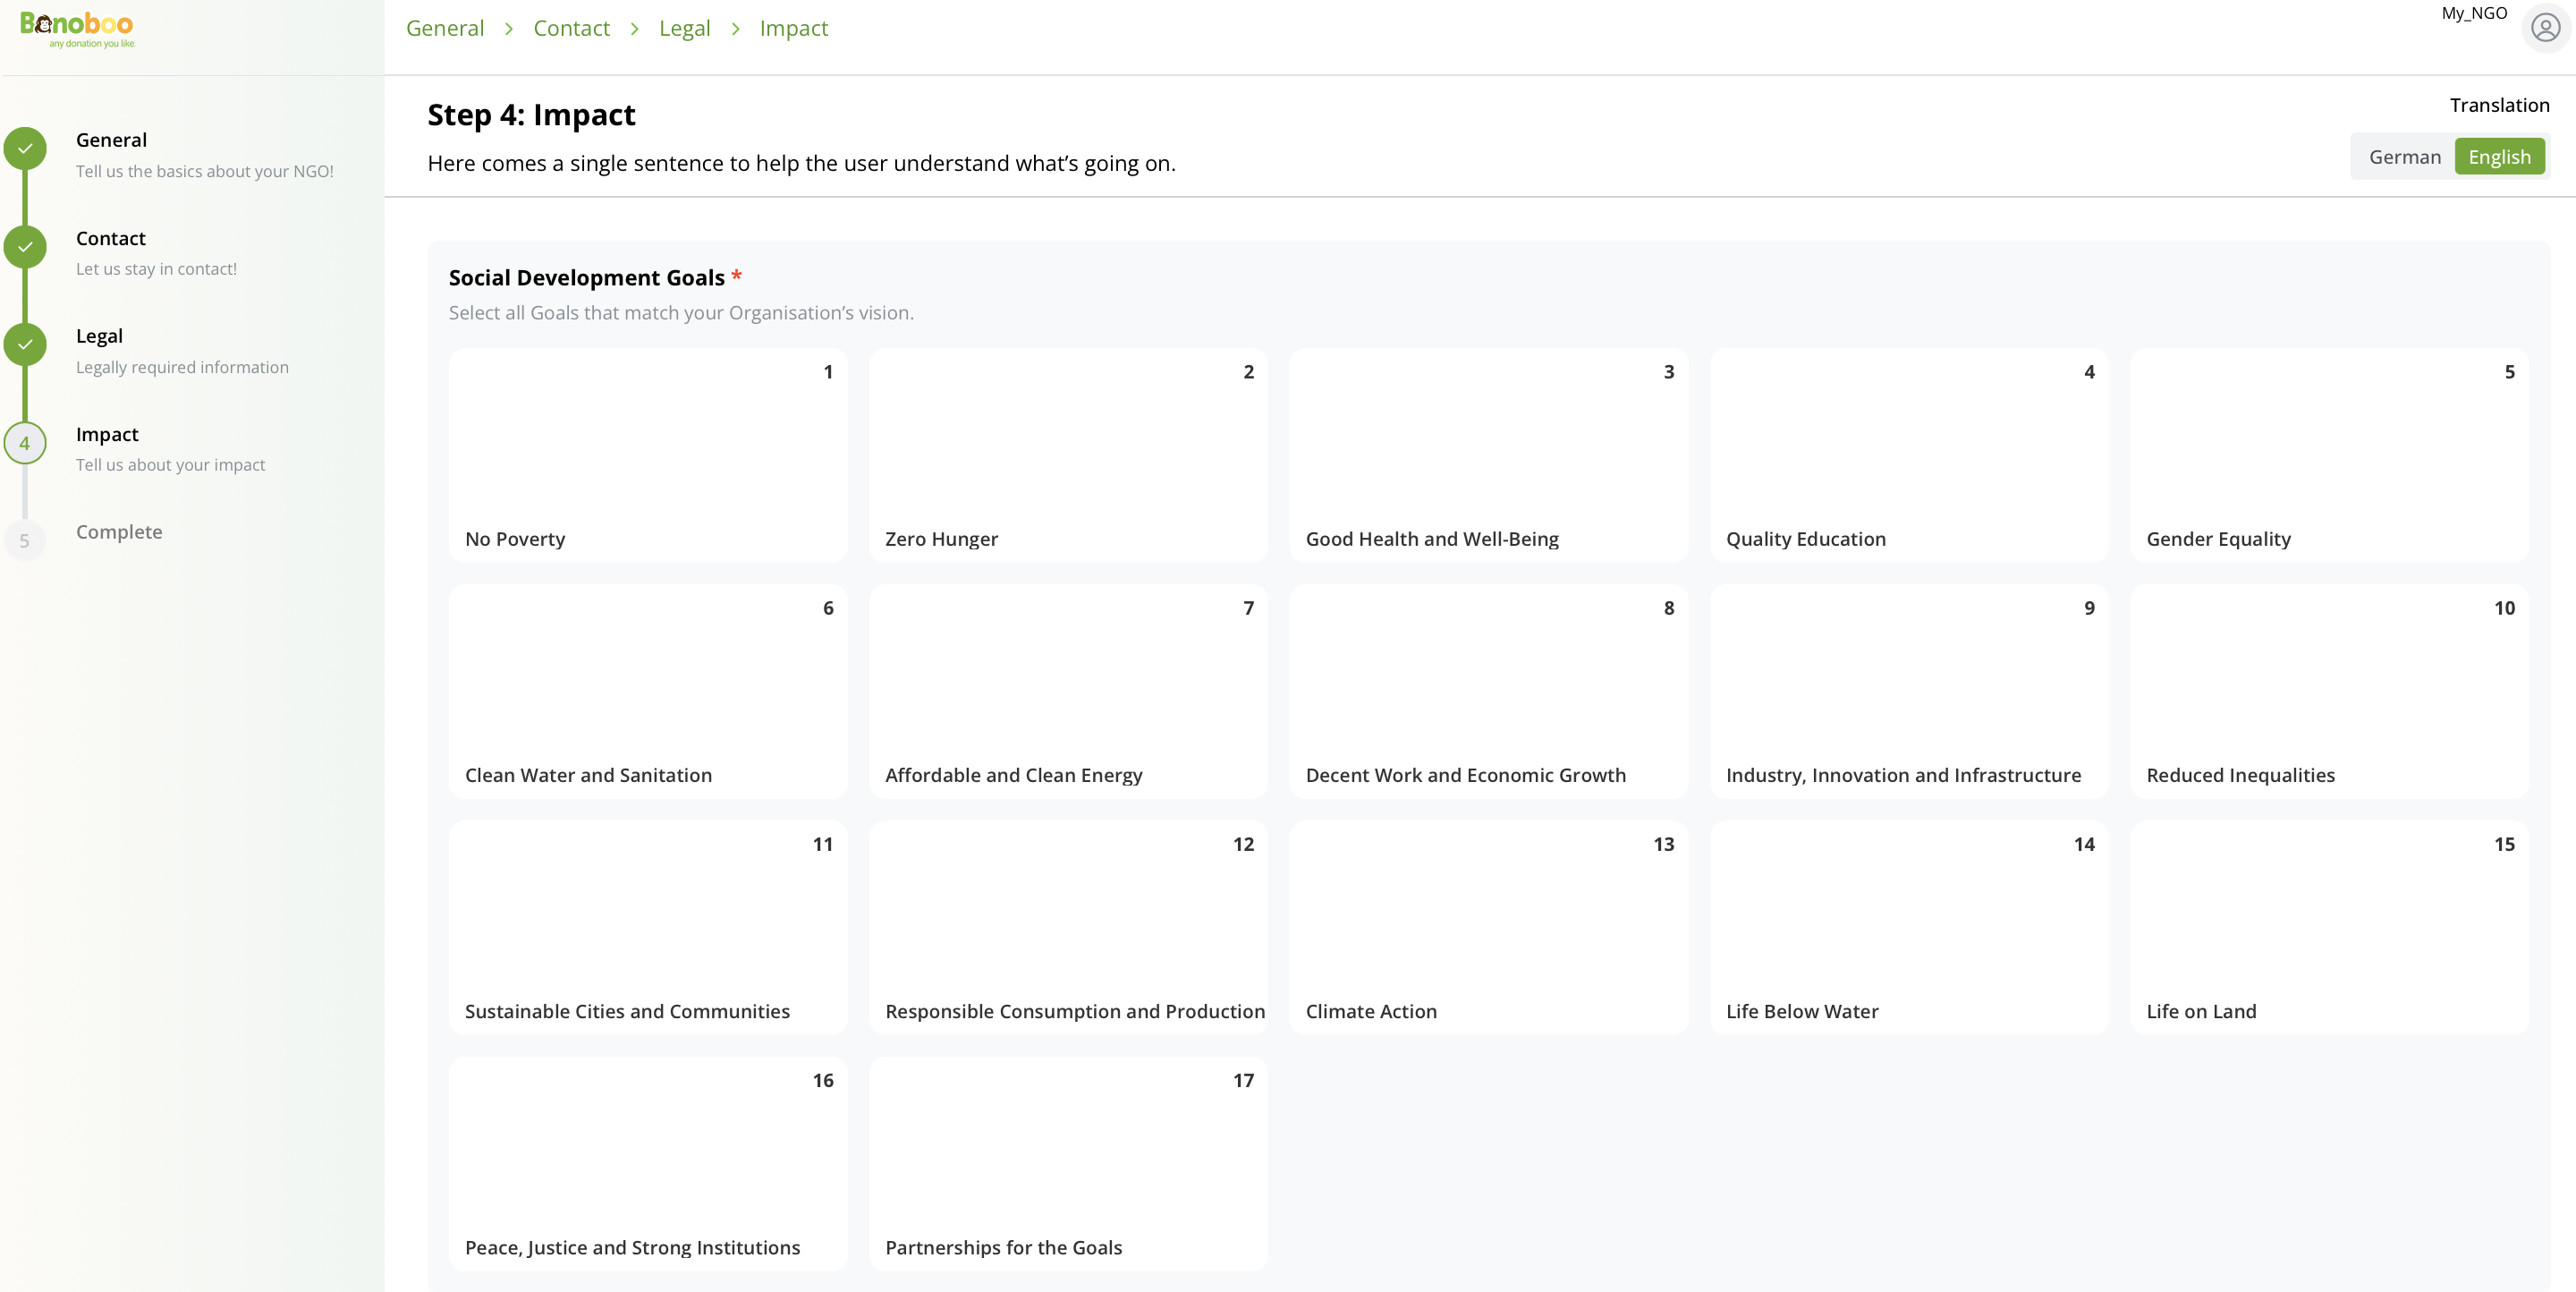
Step 4: SDGs Selection 🌱
After selecting your SDGs, you will be asked to enter further details about your organization’s work. Specify your area of impact, describing where your NGO operates and creates value. Indicate the percentage of focus dedicated to social versus environmental initiatives, and outline the types of partnerships you maintain. You will also provide your annual budget, list your key partners, and highlight your top achievements from recent years. Completing this section demonstrates the scope and credibility of your NGO’s impact on the Bonoboo’s platform.
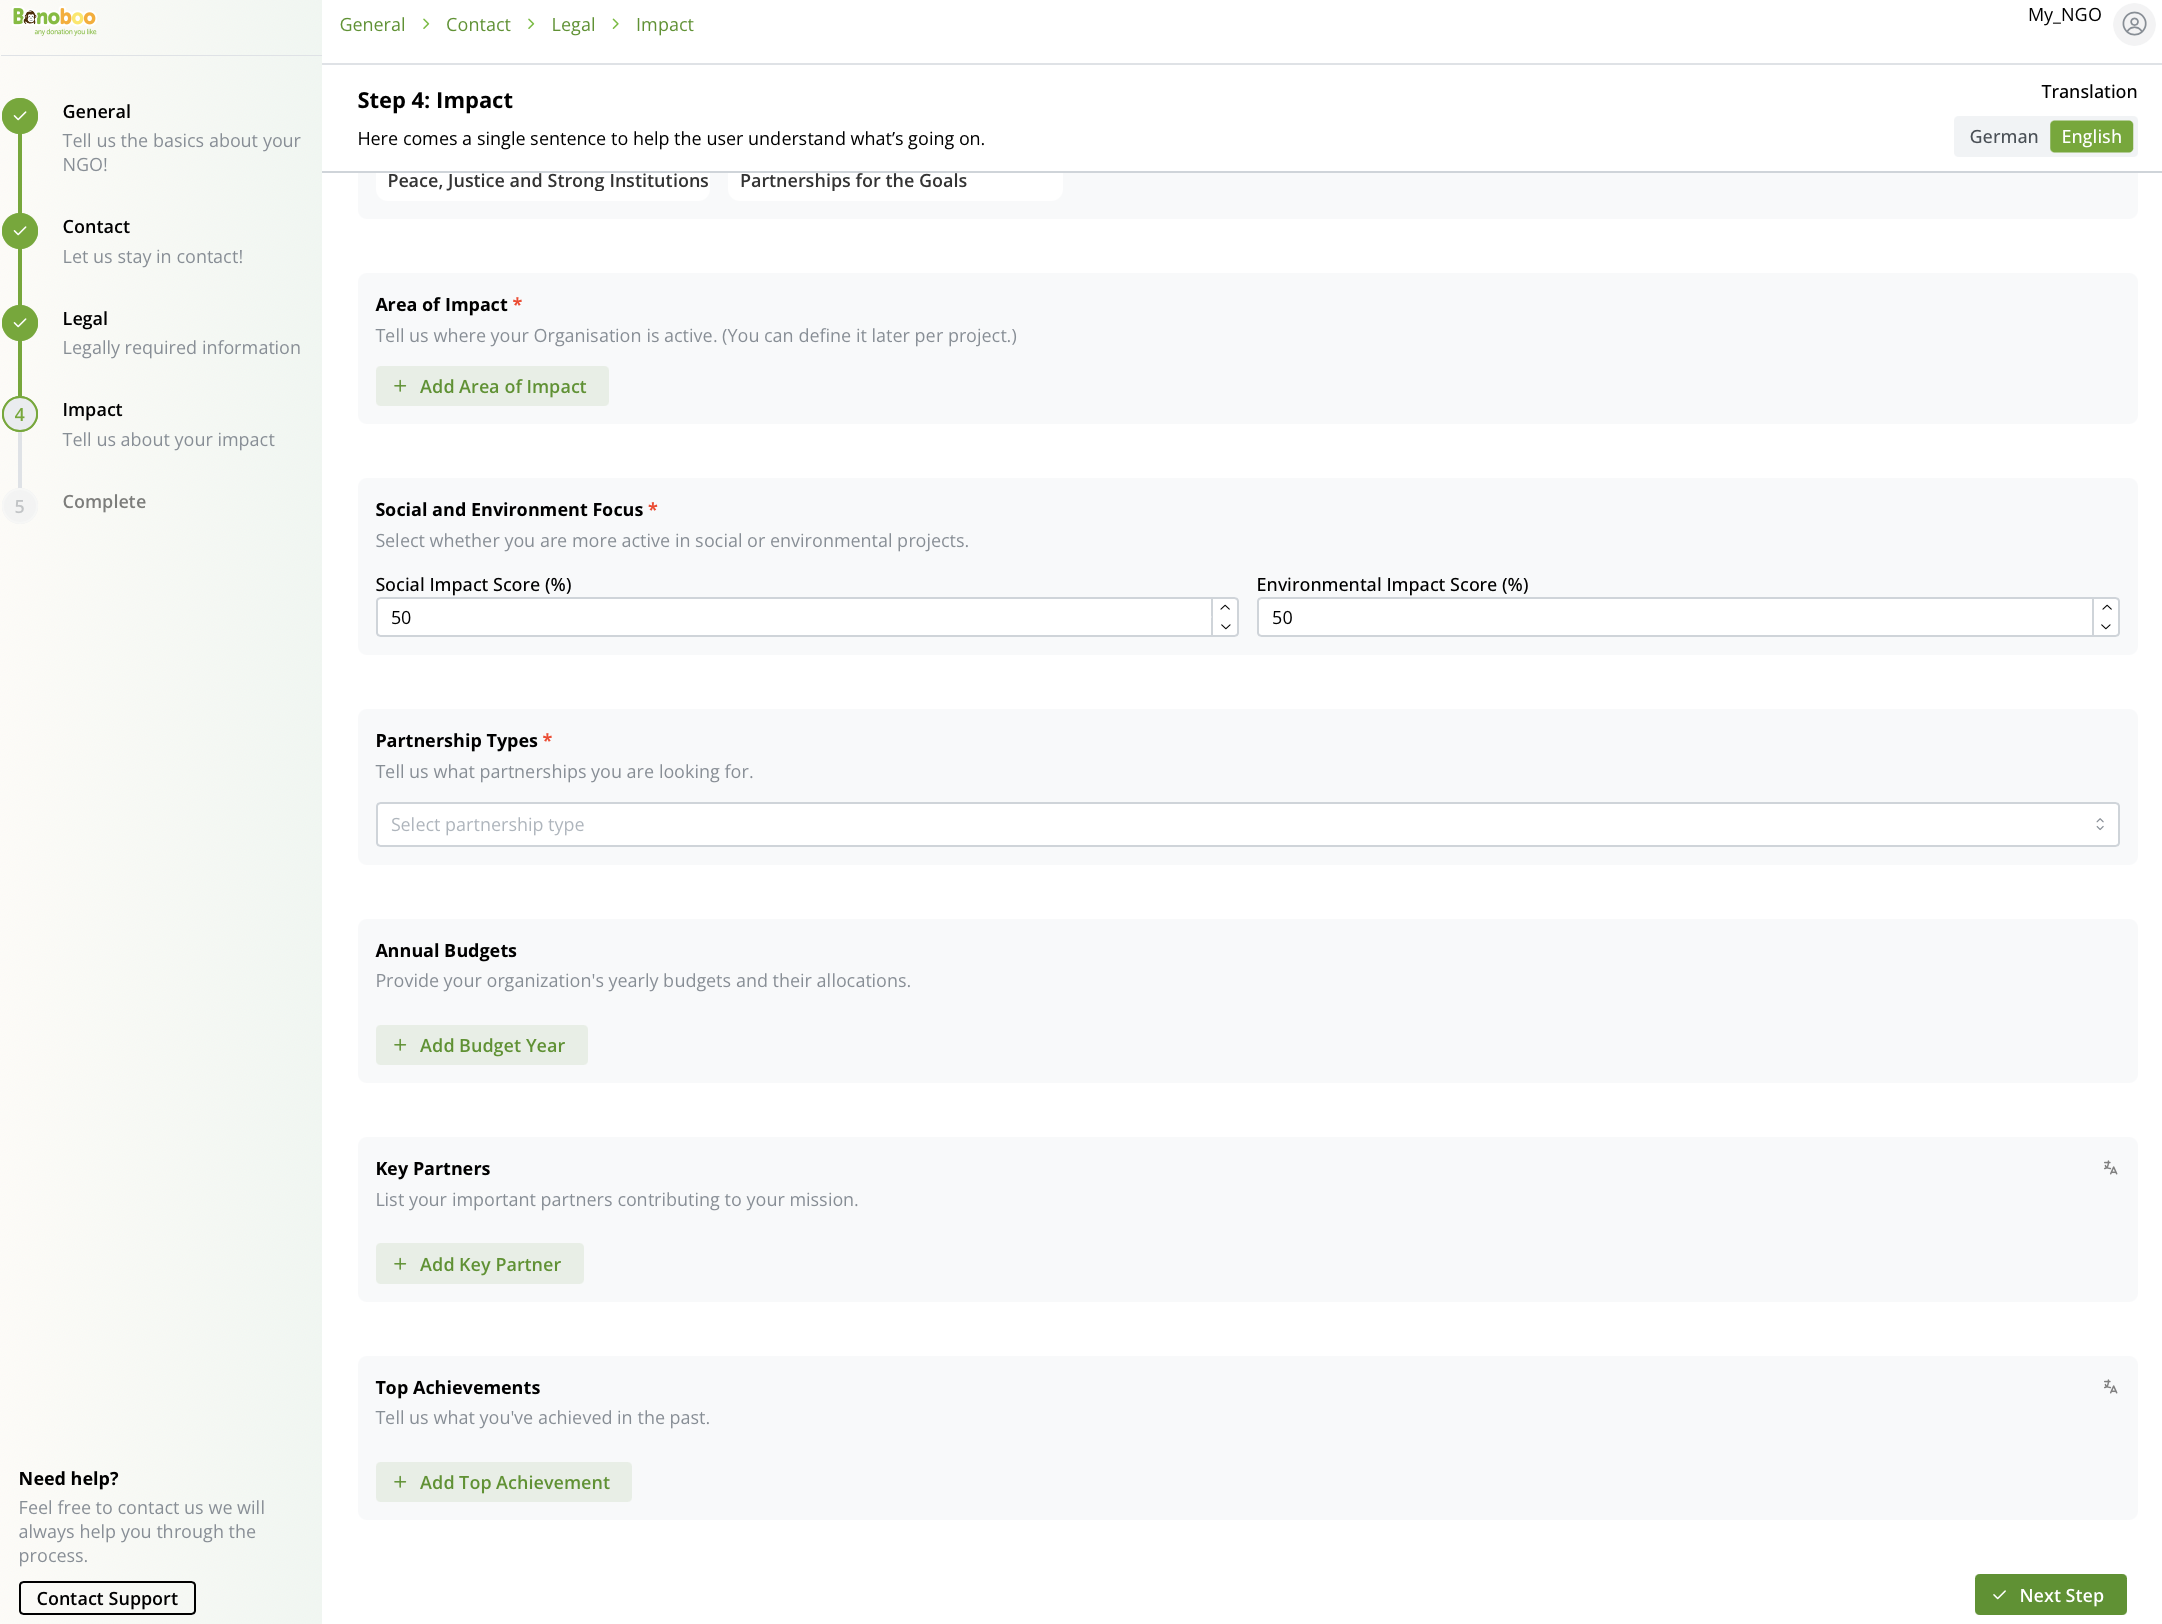
Step 4: Impact Information ☘️
Once you've completed your impact information in Step 4, you'll move to the final step of NGO onboarding: Payment Settings. This is where you decide how your NGO will receive donations through Bonoboo.
Choosing Your Payment Method
Bonoboo offers two ways to handle donations:
Bonoboo Payments (Stripe) — Recommended
Bonoboo uses Stripe to process donations. Donors can pay using credit/debit cards, Klarna, and SEPA direct debit. Payments are processed automatically — no manual reconciliation needed. Stripe charges a small processing fee per donation, deducted directly from the donation amount. Bonoboo does not retain any part of your donations.
External Payments (Manual Bank Transfers)
Donors transfer funds directly to your NGO's bank account. You receive a notification in Bonoboo and must manually confirm each donation in the Donations section. There are no Stripe processing fees, but all reconciliation is done by you. This option is best suited for institutional transfers, corporate donations, or direct bank payments.
Important: Once you complete Stripe setup, switching to External Payments is permanently locked for that account. Choose carefully.
Setting Up Bonoboo Payments (Stripe)
Step 1: Agree to the Stripe Payment Addendum
Before starting setup, you must read and accept the legal agreement between your NGO and Stripe. Check the agreement box to proceed. This agreement stays accepted — you won't be asked again unless the document version changes.
Step 2: Start Stripe Setup
Click the "Start Stripe Setup" button. A Stripe-powered setup panel will open directly inside Bonoboo — you do not leave the app or open a new tab. This panel is provided by Stripe and guides you through their standard onboarding steps, which include:
Verifying your identity and organization details
Providing business and contact information
KYC (Know Your Customer) and UBO (Ultimate Beneficial Owner) verification
Connecting your NGO's bank account
Bonoboo pre-fills your NGO's name, website, email, and phone into Stripe to save time. Your IBAN from the Legal step is not transferred automatically — you will need to enter your bank account details again inside the Stripe panel.
Step 3: KYC & UBO Verification
As part of the Stripe onboarding, Stripe will verify that your organization is legitimate and identify the people who control it:
KYC ensures your organization complies with international financial regulations and anti-money-laundering requirements
UBO identifies the actual decision-makers — typically board members or executive directors
You will be asked to upload supporting documents (e.g. organization registration certificate, government-issued IDs). Stripe reviews submissions and typically responds within 3–7 business days. You may receive one of three outcomes:
Approved — setup is complete, ready to receive donations
More information needed — Stripe will ask follow-up questions; respond promptly
Rejected — documents were unclear or insufficient; you can resubmit
Do not delay or ignore requests from Stripe. Your account cannot process payments until verification is complete.
Step 4: Connect Your Bank Account
Once Stripe approves your organization, you will be prompted (inside the same Stripe panel) to:
Add your NGO's bank account (IBAN)
Choose your payout schedule: Automatic (daily or weekly deposits — recommended) or Manual (you request payouts as needed)
Step 5: Monitoring Setup Status
The Stripe setup card shows your current status at all times:
Not started — You have not begun setup yet
In progress — Setup has been started but Stripe verification is not yet complete; you cannot receive donations yet
Complete — Your account is verified and ready to receive donations
The "Next Step" button remains disabled until your status reaches Complete. Once complete, you can return to this page at any time to manage your Stripe account (update bank details, view payout schedule, check requirements) by clicking the management button on the setup card.
Setting Up External Payments
If you choose External Payments, you will see a confirmation card with a warning and a link to the documentation explaining how manual donation confirmation works. You must check a confirmation box acknowledging that you understand donations will not be processed automatically and that you are responsible for manually confirming each received payment in the Donations section.
Completing the Step
Once either option is fully configured (Stripe setup complete, or External Payments confirmed), the "Next Step" button becomes active. Click it to finalize your onboarding. You can return to this page at any time from the Manage section to update your payment settings.
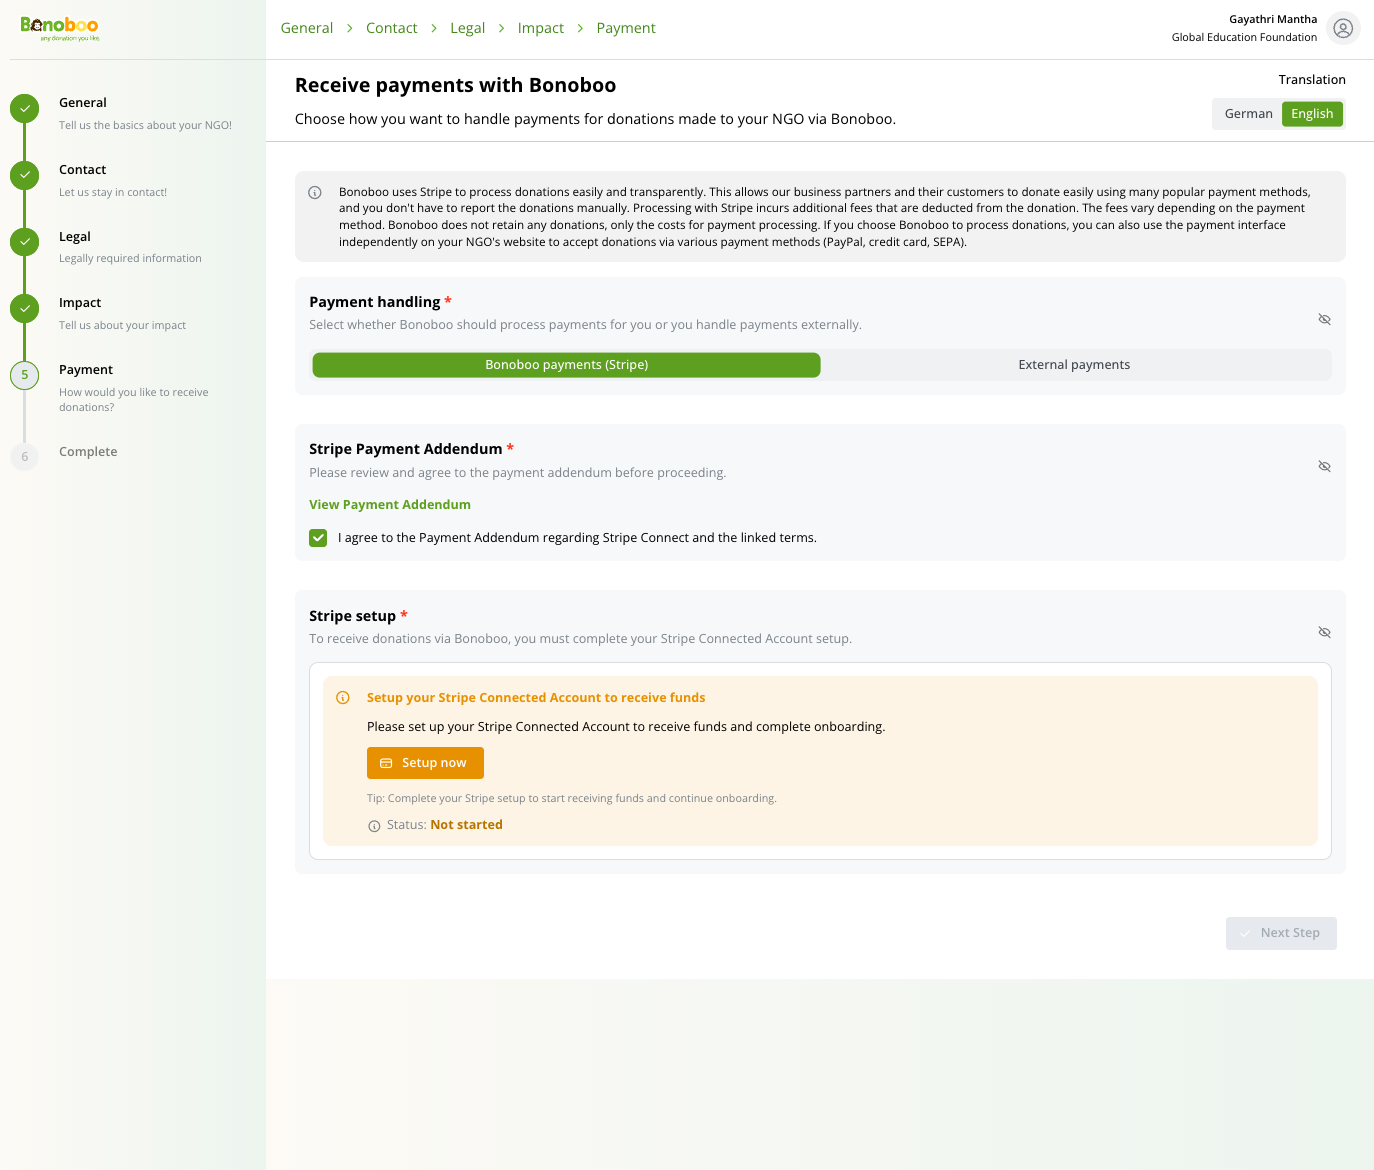
Step 5: Payment information 💸
When you have finished entering all required information, select the Next Step button to complete the setup. Your organization profile is now ready, congratulations! Remember, you can return at any time to add new details or update existing information, ensuring your profile remains accurate and up to date.
